As editor of CNCHnet, I’m always looking for ideas that will make interesting articles. For the last year or so I’ve been seeking out new (at least to me) ways of finishing off the edges of weaving. I thought I had almost enough intriguing and useful finishes for an article, but the May/June 2017 issue of Handwoven has stolen my thunder!
Starting with the Handwoven magazine cover, there are enough ideas inside to keep even the most prolific weaver busy for the next decade! Not only do they include a primer of hemstitching, a bugaboo for many of us even though it is basically a buttonhole stitch, but they have included ideas and instructions for using embroidery, macrame, lace weaves and beading to enhance our edges and our weaving.
I think that most of us already have a subscription to Handwoven. If you don’t, go out and buy this issue or check with your Guild library or the public library to access this information.
Now that I’ve said that, I will share with you the some of the ideas I’ve gathered.
Hemstitching
This technique seems simple. The hard part is figuring out the diagrams that have been published. Julia Grant, a member of RGFA has given mini workshops on this basic technique. She suggests Fashion from the Loom by Betty J. Beard, as the clearest source for directions. Her mini workshop is hands on and takes less than a half hour . She gives every one a sampler with fringe at both sides, a blunt needle and written directions. She then talks participants through the technique. Voila! Everybody figures it out quickly.
I think the best way to show you without taking Julia’s class is to have actual pictures of the procedure.
When you finish your weaving and want to hemstitch the other end, it is the same only upside down.
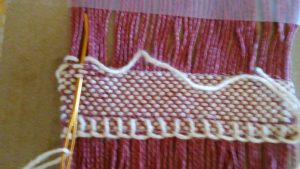
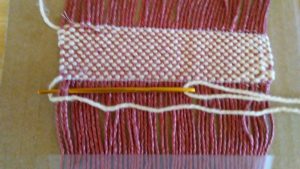 1. Starting the hem stitch after you have woven some plain weave
#1 shows the beginning of the hemstitch. Take the tail of your weft– some sources say 3X the width of the weaving- Julia suggests 10X the width. Thread it on a blunt tapestry needle. Wrap your length of yarn around as many warp threads as you want and cinch the edge. |
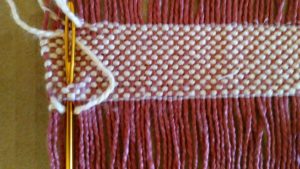 The first bite
#2 Then you take your threaded needle above where you started your division of warp threads and stitch down, locking the yarn in . |
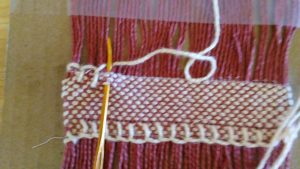
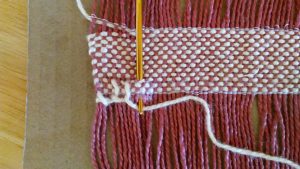 #3 and continue Continue across the edge. It doesn’t take long. |
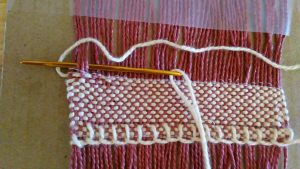 #4 Beginning the other end |
 #5 The start Things you should know. You can start from either side of your weaving. The pictures show what work well for right handers–or left-handers who are ambidexterous. |
 #6 continue to the end |
| The Handwoven article has several variations- including taking different amounts of warp ends with each stitch and taking varying amounts of wefts threads with each stitch. You can also do the hemstitching after 3-4 weft shots. It is easier to do your downward stitch with less woven weft. |
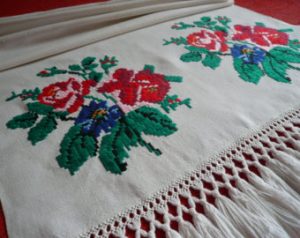
FRINGE
Grouping warp threads with a simple overhand knot is easy and beautiful–unless you have warp threads that unwind or shed at the cut end.
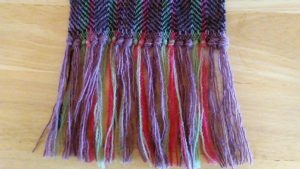
knotted fringe
Every other group knotted
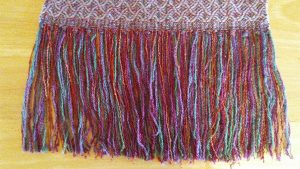
The easiest cure for that is either to tie a knot at the end of each warp thread or twisting the fringe.
It is also okay to use your sewing machine to secure the edge. Check your stitch types. I like the one that goes _l_l_l_l. If you use thread that matches your yarn, the stitches are not seen.
Twisting is easy with the twisting tool.
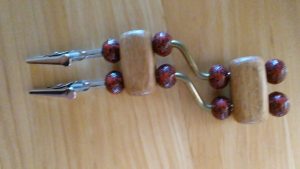
two jawed twister
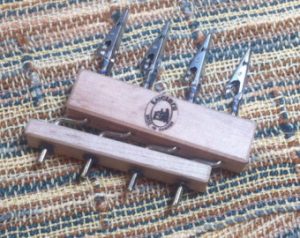
Quadruple fringe twister
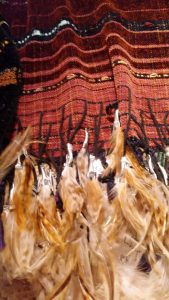
Fringe doesn’t have to be just warp threads.
Fringes on all sides
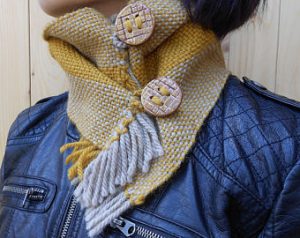
Another way to secure a scarf
It is also possible to use other techniques to start and end your weaving.

Macramed hem
There are many ways to tame a fringe.
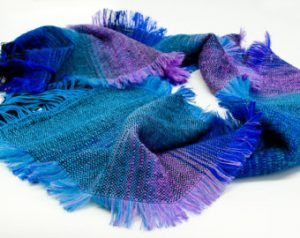
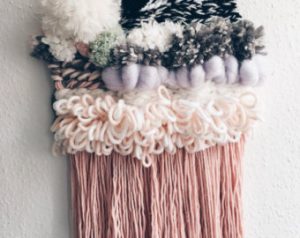
Or maybe you want a more lush fringe on your piece. There is no reason not to supplement the edges or add more to the weaving before there fringe.
scarf by Nancy Papp
Santa Fe. N.M.
If you think your fringe looks too skimpy, you might want to cover it with commercials trim. There are plenty out there!
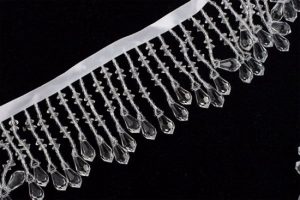
beaded fringe
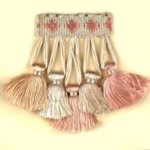
touseled tassels
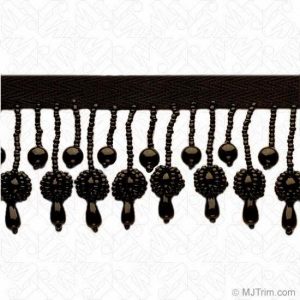
more beads
Or you can thread beads on your fringe. They add weight to a piece which can make it sparkle. Don’t go overboard as scarves and shawls with too much beading are uncomfortable if you are sitting or leaning against them.
Tassles
How about tassels? Depending on the weight and drape of your fabric, a tassel might be the perfect finish. Think table runners, drapery tiebacks and even scarves. You can make tassels and embellish them too.
Maybe you’re tired of fringe. You can hem the edge. Towels, napkins, placemats and rugs are good places for a hem. Sue Hayes suggests using finer yarn or sewing thread for weft on the edges on your table linens and towels. Weave with it long enough to have material for a twice turned hem. It makes the hem less bulky , too.
*********************************************************
Thanks to Julia Grant for the samples to learn on. Check Etsy for inspiration.