If you have been weaving for awhile and/or you have bought used looms, you probably have a collection of reeds and some of them may be made of carbon steel. I went through my collection and found several that were so tarnished I couldn’t read the size or the dent and some had some rust on them. Since reeds are expensive, I decided to see what could be done to rejuvenate them.
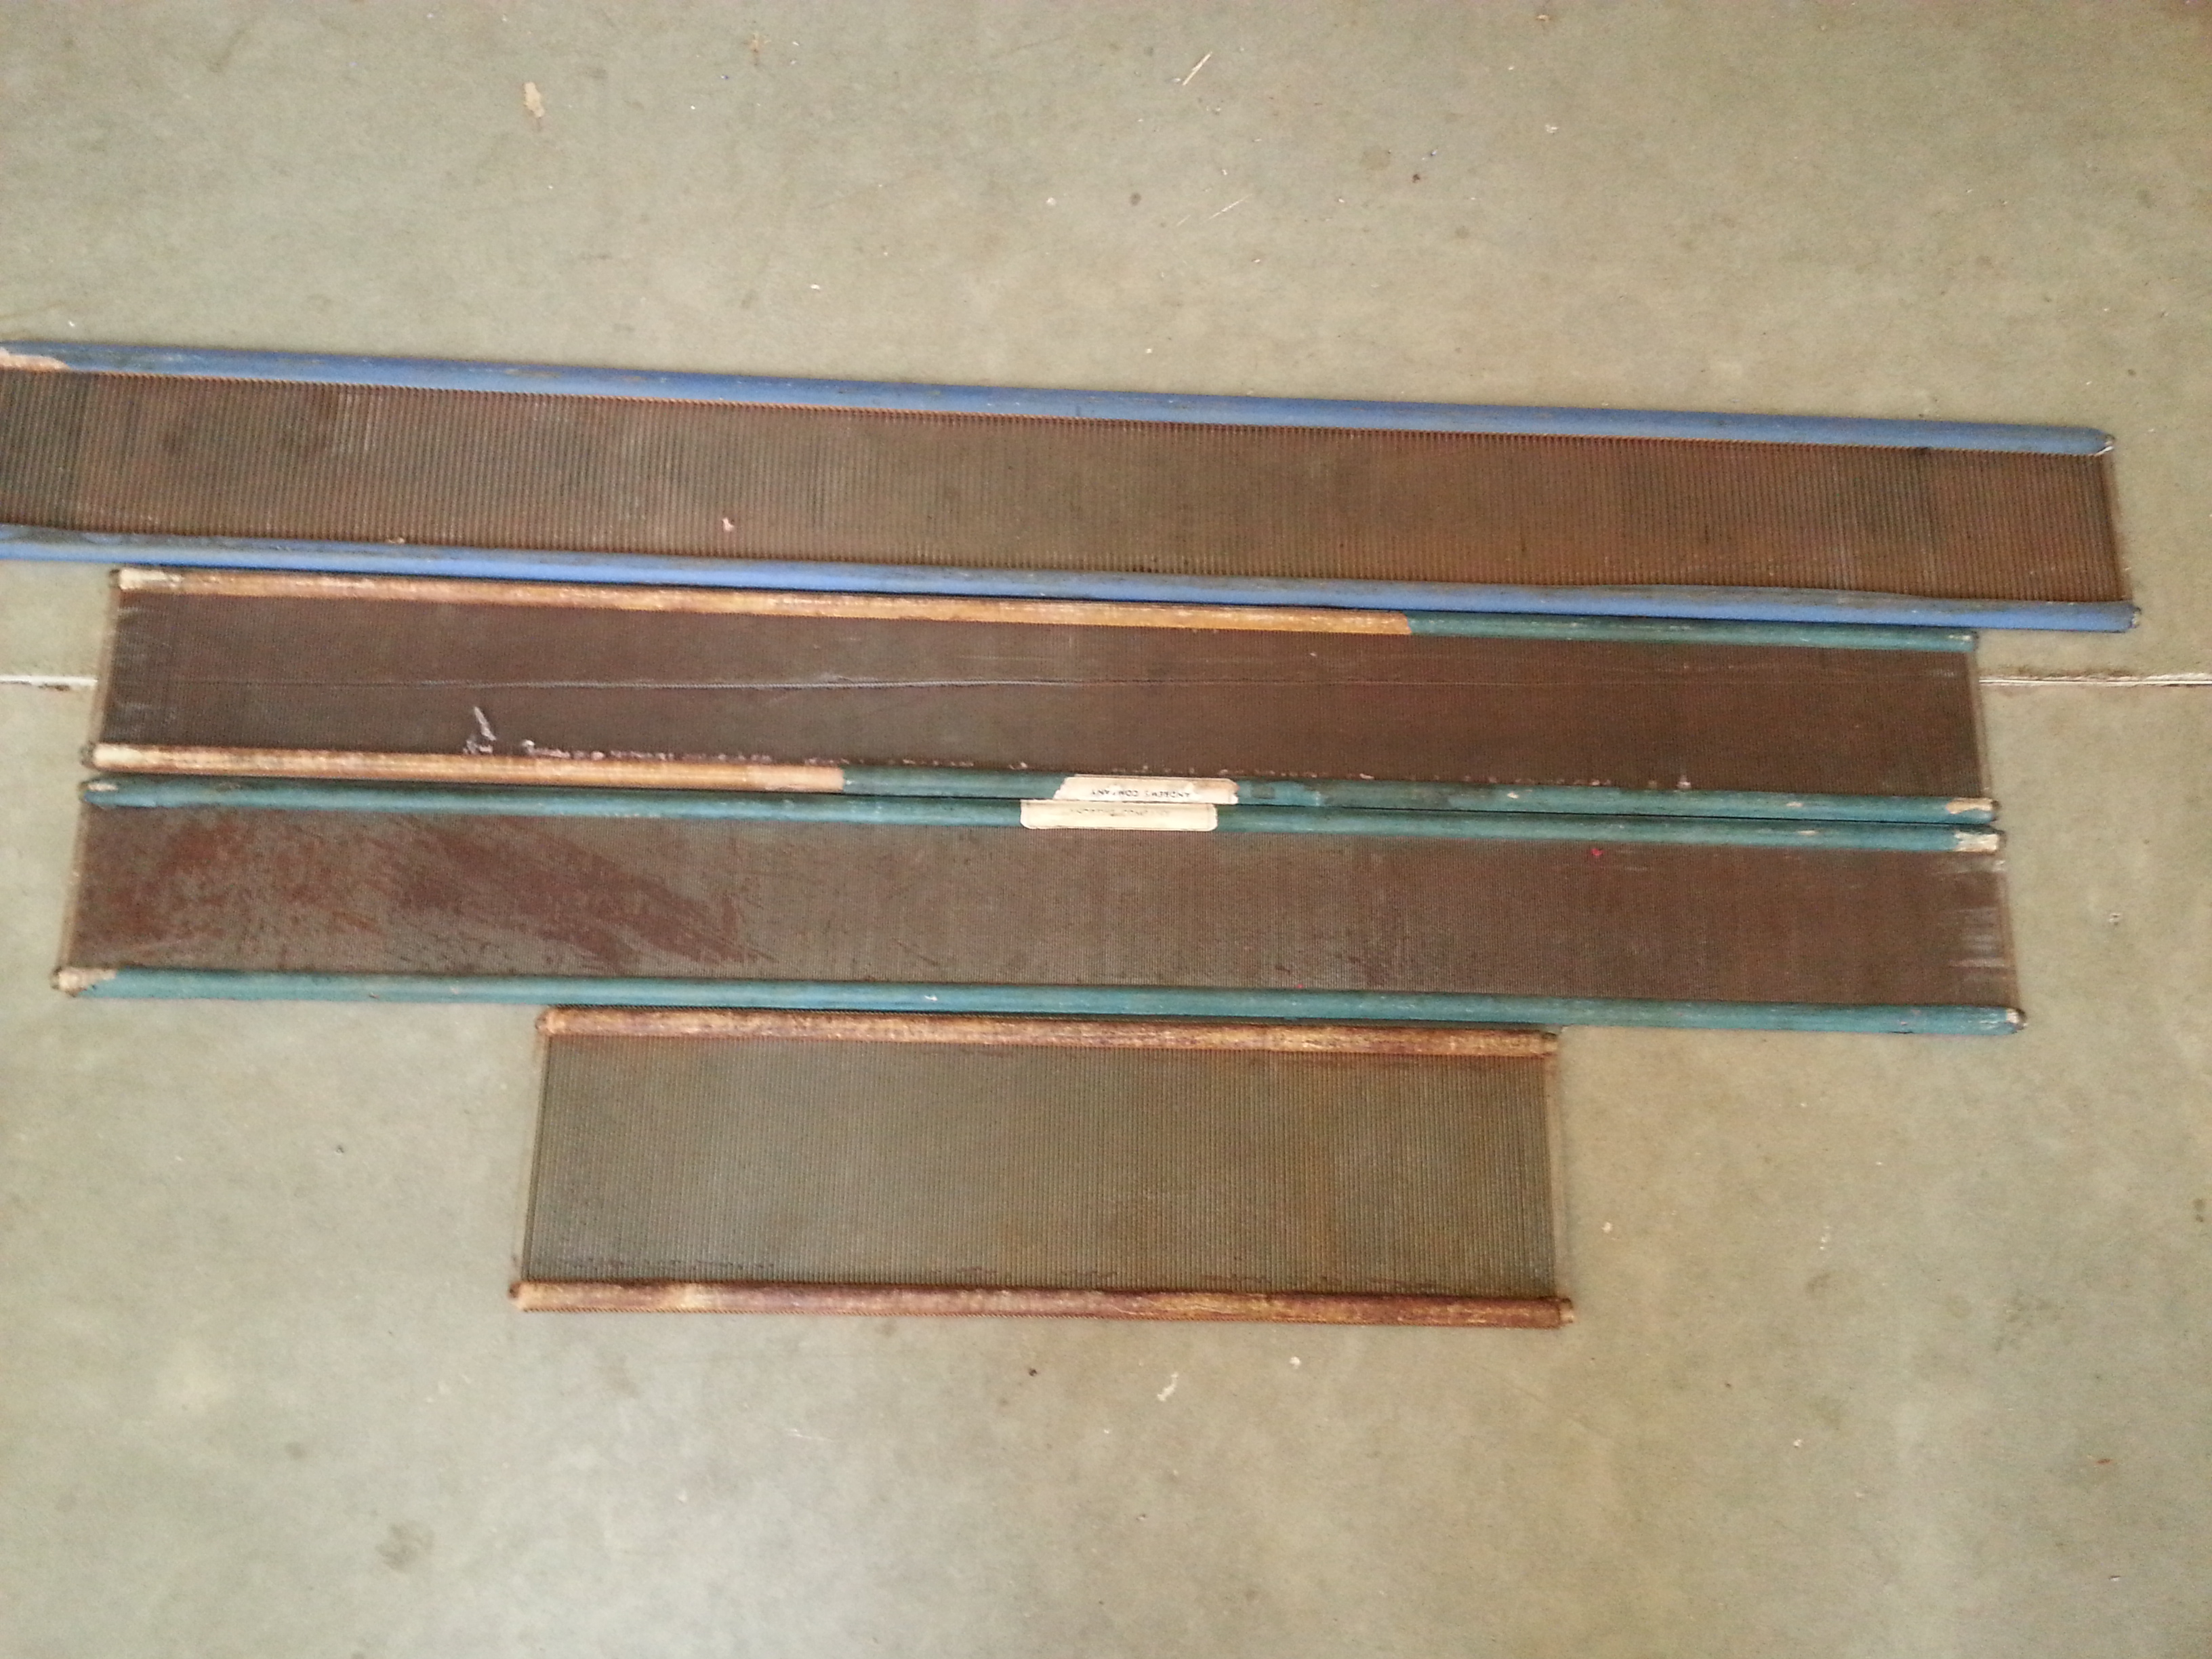
Tired, tarnished and a little bit rusty.
I first Googled “cleaning weaving reeds” and found plenty of possibilities on how to go about doing this job: everything from soaking them in vinegar,coke or weak tea; sandblasting, power washing or sanding; and using heavy duty rust removers such as CLR and Naval Jelly which, by the way, contains hydrochloric acid as its active ingredient.
Obviously, this was an outdoor project and I needed days when it would be hot and dry. Labor Day Weekend 2015 was the perfect time with temperatures in the high nineties.
I decided to start with soaking the reeds in white vinegar. The first problem was what to soak them in! Since one of the reeds was 48”, I needed something at least that long. A trip to Home Depot yielded an 8’ piece of plastic Roof gutter with two end caps. After a side trip to Lucky’s to purchase 3 gallons of white vinegar I was ready.
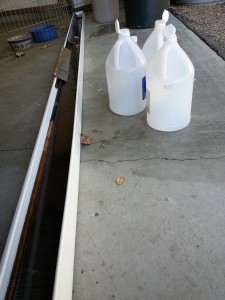
The vinegar soak in the rain gutter.
Now, I could have cut the gutter to the right size—approx. 50”, but that would have meant getting out a power tool. So, instead, I used the whole 8’ piece as my soaking vessel. It worked out well as I could soak all the reeds at once. Of course, it wasn’t deep enough to completely cover the reeds so after about two hours I turned them all over. After another two hours, I removed them, rinsed them thoroughly with a hose, dried them with towels and laid them in the sun to dry.
The vinegar removed lots of tarnish and surface oxidation. I could now read the size and dent of the reeds. However, there was still some discoloration and a little rust that needed to be dealt with. The next step on the following day was to use the heavy duty Rust-oleum Rust Stripper.
This involved being outside, protecting surfaces, keeping the dog away and wearing heavy duty rubber gloves.
The first step was to go over both sides of each reed with a wire brush or a heavy scratch pad to remove any surface rust. Then I applied the Rust Stripper gel to the top and bottom of each reed and used an old paint brush to work it in. I flipped the reed over and did the other side. I let it sit for about 10 minutes and then rinsed it thoroughly with the garden hose. I batted each reed against a table edge and then dried it with a towel. I then laid it on a rack to dry thoroughly in the sun.
After a few hours they were dry. I took each reed and lightly sanded each side with 400 grit sandpaper and sprayed it with WD40 silicon sealer.
I did six reeds in all, five were carbon steel and one was stainless steel. The stainless steel reed looked great after coming out of the vinegar soak. I lightly sanded it with 400 sandpaper and sprayed it with a stainless steel cleaner/protectant.
Four of the five carbon steel reeds looked good to great. The fifth reed had rust that seems to have eaten through the finish on all the metal. It is a 6 dent reed so, although it is slightly rough, I think it still can be used for heavier, tougher yarns. I came across a comment that it is possible to apply WD40 via the warp. The suggestion was to thread the loom and apply WD40 to the first few inches of the warp before it goes thorough the reed, letting the warp coat the insides of the metal as you weave. This part of the warp can be discarded or (probably) used as the WD40 will wash out. I think that will be something I try in the near future.
The last part of this project is retaping the edges. The vinegar soak loosened all the remaining tape on the reeds so, duct tape to the rescue!
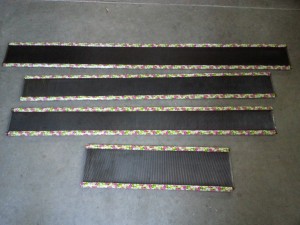
Rejuvenated!
Surprisingly, this was an easy project. The hard part was envisioning what had to be done, what equipment I needed, and the logistics of how, where and when I could do it.
Setting up the soaking couldn’t have taken more than half an hour, applying and rinsing the rust remover took about an hour for all five reeds and lightly sanding and spraying on the WD40 couldn’t have taken more than 45 minutes.
The taping took place the following day and wasn’t very hard—and I chose to use some of the newish Duck Tape with a snazzy pattern on it. This way I’ll know which of my reeds were rejuvenated!